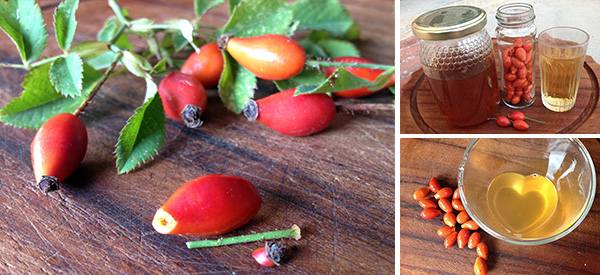
DIY Rosehip Oxymel
We have all heard of tinctures, salves, poultices, and even elixirs, but what about an oxymel?
Put simply, an oxymel is a remedy that infuses the medicinal properties of herbs into a mixture of vinegar and honey. This method is usually reserved for either bitter-tasting herbs that are unpalatable or heat-sensitive ones.
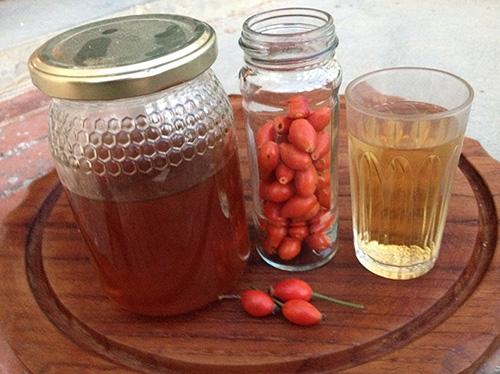
By infusing herbs into vinegar and then adding honey, it combines the medicinal properties of the unsavory or delicate herbs with the medicinal benefits that vinegar and honey have already; boosting the immune system’s response, soothing a sore throat, and aiding digestion. When you specifically use raw, unfiltered apple cider vinegar and manuka honey, you are also gaining numerous other health benefits, such as proteins, beneficial bacteria, and anti-septic qualities.
As with many homemade remedies, an oxymel is incredibly flexible and you can adapt it to your own tastes and needs. Once you have infused the vinegar, you can add the honey; a good ratio to start with is 1-part honey to 1-part vinegar. If you have a sweet tooth, the amount of honey can easily be increased to suit your palate.
Oxymel Versus Infused Herbal Oil
Unlike an infused herbal oil, an oxymel does not require heat. The acid in the vinegar helps to break down the plant’s cell membranes. Rosehip is particularly sensitive to heat and light, so infusing it into an oxymel is a better option compared to oil.
Since vinegar is about 95% water, fresh rosehips are definitely a must in your oxymel, but without adding some kind of preserving agent, the water content in this remedy means that its shelf-life is somewhat limited – approximately 4 – 6 months in the fridge.
Fresh rosehips are better because the vitamin C content rapidly declines as it dries and is processed. Unlike many other herbal remedies, a rosehip one should always use freshly picked produce.
For all these reasons, preserving the nutritional and health benefits of rosehip in an oxymel is the perfect solution.
Health Benefits Of Rosehips
Most notable is rosehip’s incredibly high vitamin C content – up to 700% of your daily dose is in 100 grams of fresh rosehips. But its potency degrades with time as well as during drying and processing.
Research has shown that consuming rosehip can help with joint pain and stiffness, and it is also high in anti-oxidants.
People who have been prescribed antibiotics should avoid rosehip as these two have negative interactions.
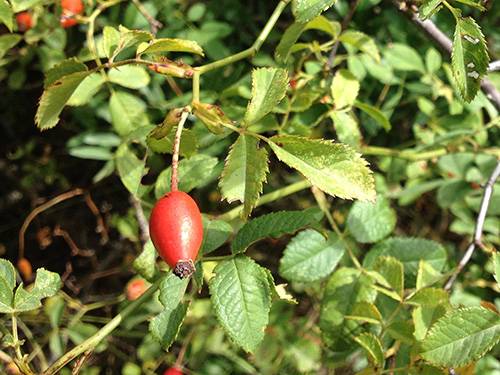
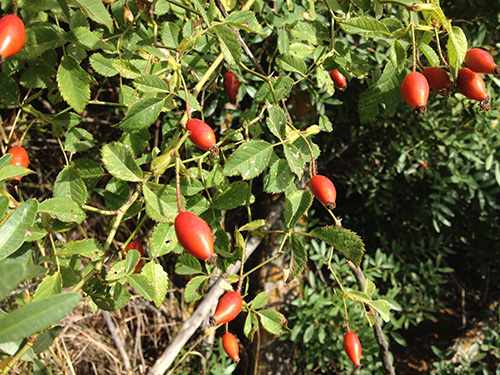
Harvesting Rosehips
The optimal time to pick rosehips is at the end of summer. Orange rosehips are not quite ready to pick, while deep red ones are overripe and have lost much of their vitamin C content (but are sweeter tasting).
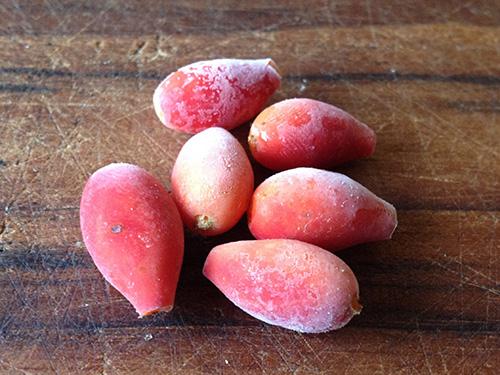
Many sites recommend harvesting after the first frost; however, this is only necessary when you are looking for full-flavored rosehips for cooking or for making tea since the cold temperatures soften the flesh and increase the flavonoids and sugar content. You can imitate this frost by putting your fresh hips into the freezer for at least 8 – 10 hours.
Preparing Rosehips
The seeds inside rosehips are furry and can irritate the throat when eaten. So there are 3 options to solve this problem;
- Cut the hips in half and scoop out the seeds (which is a bit time consuming),
- Chop up the hips, and once it has been infused in the vinegar, you can strain it through a coffee filter, or other fine paper.
- Use whole rosehips in your oxymel.
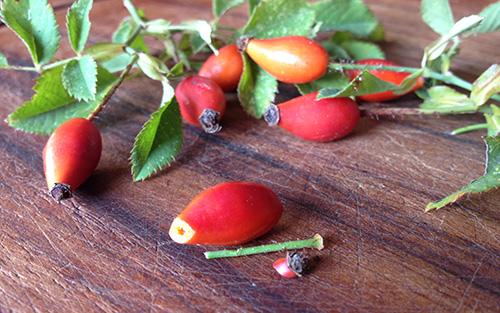
In any case, be sure to cut away the stems and brown tips, and pull out any of the small hairs that you see, then wash them. Don’t leave them sitting in water because vitamin C is water-soluble.
I’m fortunate enough to have a wild rose growing a few meters from our boundary which produces plenty of small rosehips. It’s perfect for using whole in an oxymel, but it means it will take longer to infuse (3 – 4 weeks) compared to using larger hips that can be scooped out easily and chopped up (2 weeks).
How To Make A Rosehip Oxymel
- Put your freshly harvested and cleaned rosehips into a jar with a plastic lid. If using a metal lid, then place a piece of baking paper or plastic film over the jar before screwing on the lid, otherwise, the acid in the vinegar will corrode the metal.
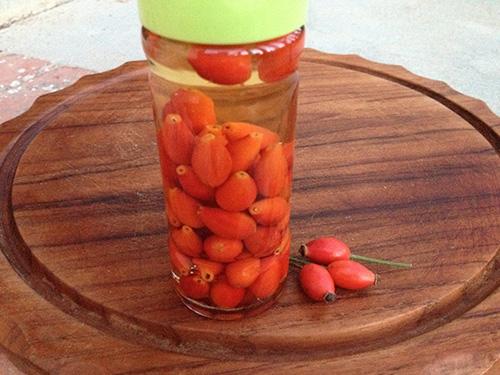
- Leave in a cool, dark spot for at least 2 weeks and shake every other day. I store it in the fridge door so that every time the door opens and closes, it gets agitated.
- When the vinegar has finished being infused with the rosehips, the taste of the vinegar will have softened slightly. It will still have a lot of zest, but it won’t quite clear out the sinuses the way pure vinegar does.
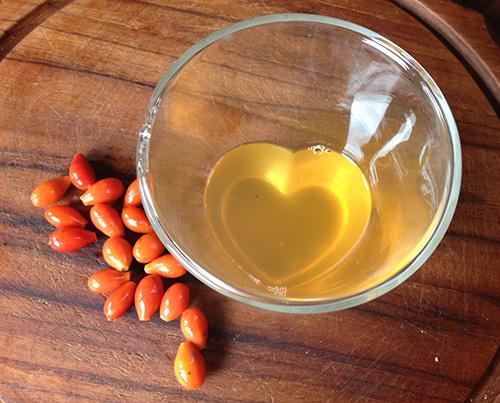
- Strain your infused vinegar and add honey (equals parts honey to vinegar).
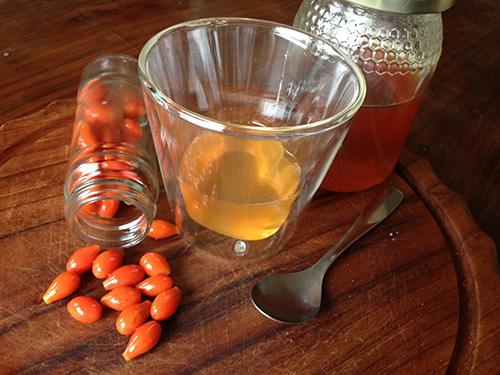
- Then add a label with a date and store it in the fridge for 4 –6 months. Remember, if you are using a jar with a metal lid, then you have to put some baking paper or food wrap on before screwing on the lid.
There are many ways you can ingest this oxymel; You can use it as a salad dressing or drink it as a shot; add it to juices or use it as a zesty but healthy dessert topping. I like to add a tablespoon to my yogurt pot for breakfast.
Comments
Post a Comment